Your Guide to Custom Whitening Trays: Step-by-Step Instructions for a Brighter Smile
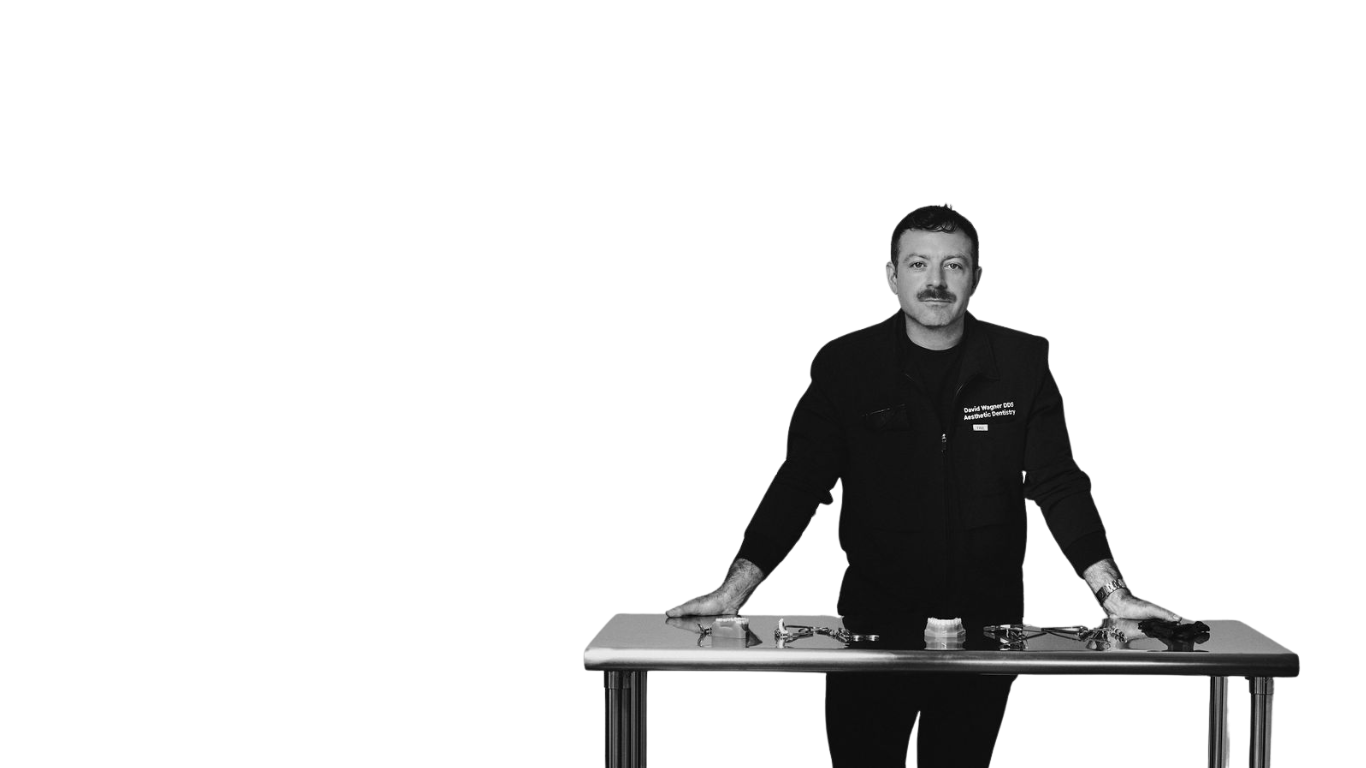
I’m Dr. David Wagner, a specialist in cosmetic dentistry, and I’ve put together this guide to help you safely and effectively use your custom trays for maximum results. Let’s get started!
Congratulations!
You’ve taken the first step toward achieving a brighter, whiter smile, and we’re here to ensure you get the best possible results with your custom whitening trays. Unlike store-bought whitening kits, these professional trays provide even, long-lasting whitening results with minimal sensitivity.
-

Step 1: Prep Your Smile
🦷 Floss and brush your teeth thoroughly before applying the whitening gel. This removes any plaque or debris that could interfere with the whitening process.
-

Step 2: Apply the Gel
💉 Using the provided syringe, place a small drop of whitening gel onto the middle of the facial surface of each tooth inside the tray.
🚫 Skip the second molars—whitening them isn’t necessary.
-

Step 3: Insert the Trays
👆 Carefully place the trays onto your teeth and press firmly to ensure they sit correctly.
-

Step 4: Let the Whitening Begin
⏳ Wear the trays for 30 min or for the time recommended by your dentist.
🚫 Avoid eating or drinking during this period. Instead, relax with a movie, read a book, or catch up on emails.
-

Step 5: Rinse & Clean
💦 Once the time is up, remove the trays and rinse your mouth thoroughly with water.
🪥 Brush your teeth as usual and rinse the trays with cold water (never hot, as it may warp the trays).
